

![]() Attach
|
Attach
|
![]() Edit
|
Edit
|
![]() Revisions
Revisions
![]() Related Content
Related Content
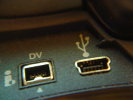
Connecting Sony Handycam to Windows Vista Via USB
Physically, there is only one way to connect the Sony Handycam to your computer via the USB port. However, once it's connected, the Sony Handycam can serve two different purposes (depending on how you configure the camcorder and the drivers). The first purpose is to simply use the Sony Handycam as a memory card reader/writer to access the Memory Stick through your computer. The second purpose is to use the Sony Handycam to stream video. This article will explain how to set-up the Sony Handycam and your Windows Vista computer to do either.
Accessing the Memory Stick
Using the Sony Handycam to access the Memory Stick is, by far, easier out of the two ways to use your Sony Handycam through your computer. All you have to do is connect the cable, turn on the camcorder, and switch it to "Memory" or "Playback" mode (depending on the specific camcorder). Windows Vista will automatically detect the camcorder and install the correct driver.
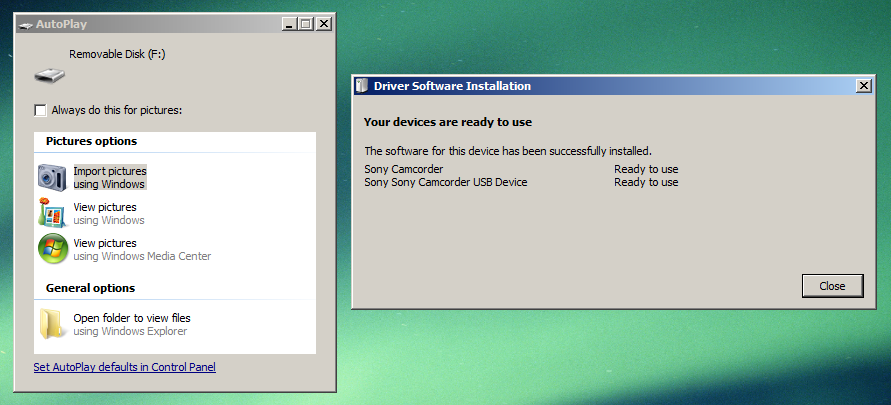
After installing the device driver, Windows' AutoPlay will show up (see screen shot below) if you have a Memory Stick inserted into the camcorder. You can examine the driver install status via the dialog shown on the right.
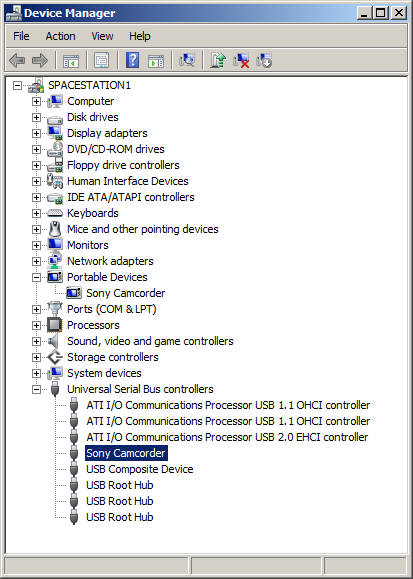
If you examine the Device Manager, you will see that Windows Vista installed two "Sony Camcorder" drivers (see screen shot below).

Streaming Video
In this second mode of operation, you can stream video from the Sony Handycam to your computer through the USB port. This is handy if you want to use the camcorder as a web cam or if you want to transfer video from the camcorder. Keep in mind that in the USB steaming mode, video quality is worse than what you can acquire through the Firewire DV port. You really should only use the USB streaming capability if your computer doesn't have the Firewire port and you can't afford to upgrade to Firewire .
Downloading the Driver
If I haven't convinced you to use the Firewire port yet, then let's continue with the USB installation. First, download the USBDRVEN.EXE driver software. This driver works with virtually all Sony Handycam's on the Windows XP. This document will show you how to install that driver on Windows Vista.
Unpacking the Driver
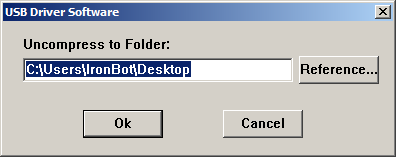
After downloading the driver mentioned in the previous section, double-click on it to start it up. The software will ask you where to uncompress the content (see screen shot below). Click on "Reference..." and select the Desktop. Click the "OK" button to continue.
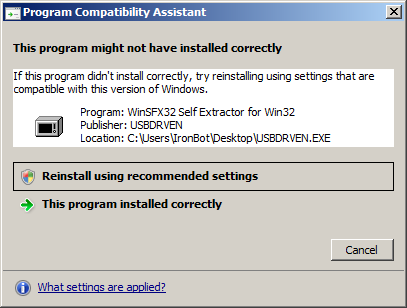
Windows Vista will bring up the "Program Compatibility Assistant" as shown in the screen shot below. Ignore it and click on "This program installed correctly" or on the "Cancel" button.
Installing the Driver
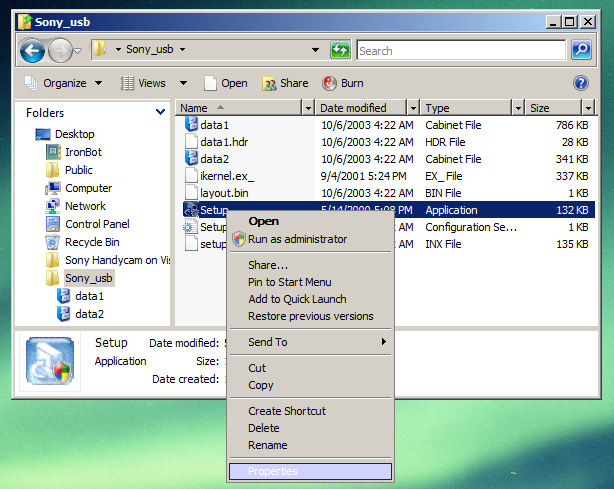
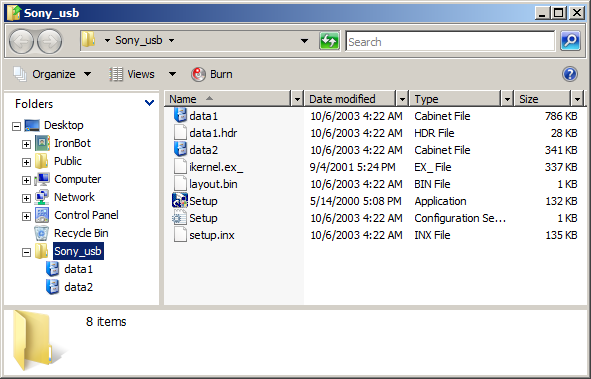
After uncompressing the software, you will see the "Sony_usb" folder on your desktop. Open up the folder and locate the "Setup" application inside the folder (see screen shot below).

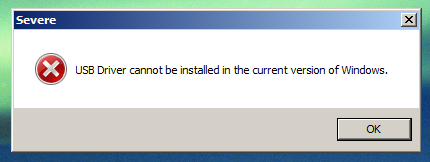
Don't be too quick to double-click the "Setup" application just yet. If you do, you will see the following message, "USB Driver cannot be installed in the current version of Windows."

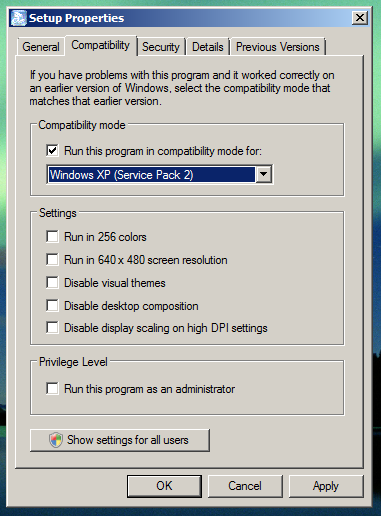
The driver is written for Windows XP, but it will work just fine in Windows Vista. We just need to work around it. Right-click on the "Setup" application and choose "Properties" (see screen shot below).
Click on the "Compatibility" tab. Now, check the box for the option to "Run this program in compatibility mode for:". Next, select "Windows XP (Service Pack 2)" from the pull-down menu. The screen show below shows what you should see on your screen. Click the "OK" button to save your changes.

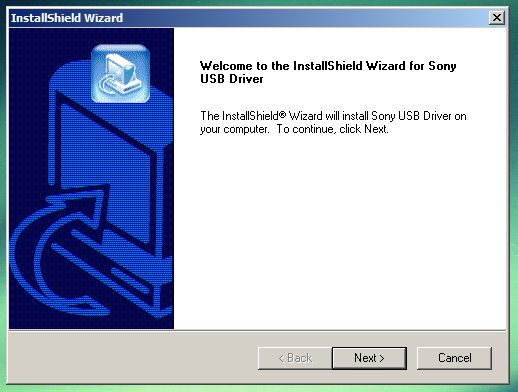
Now you can double-click on the "Setup" application. The InstallShield Wizard will pop-up on the screen. Click the "Next >" button to continue the installation process.

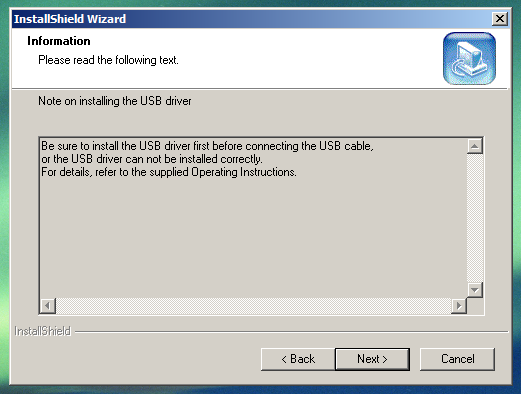
In this screen (see screen shot below), the driver software explains that you should not connect the camcorder to the computer until the driver software has been installed. So if you have been following this instruction, then your camcorder isn't connected. But if you did connect the camcorder to the computer, take this time to disconnect it. Click the "Next >" button to continue.

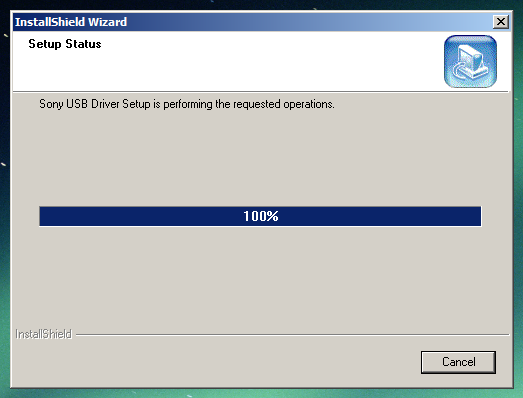
At this time, the driver software will install itself (see screen shot below).

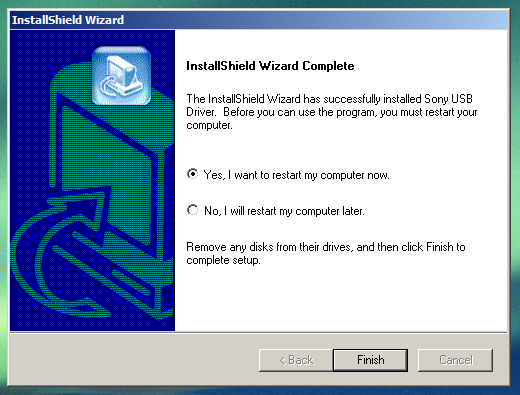
After the installation is done, the driver software will mention that you need to reboot your computer. Click on the "Finish" button to reboot the computer.
Connecting the Camcorder
At this time, you are ready to plug in your camcorder into your computer. But before you do that, there is a very important step that you must perform for USB Streaming to work. And that step is to turn on the USB Streaming mode on your Sony Handycam. How do you do that is different for each Sony Handycam model. The instruction manual for you Handycam is where you could find out how to do it. On most models, the option is in the camcorder menu system. Don't even bother continuing with this instruction until you've turn USB Streaming on. If you do not turn on USB Streaming, the Sony Handycam WILL NOT be able to stream video to your computer.
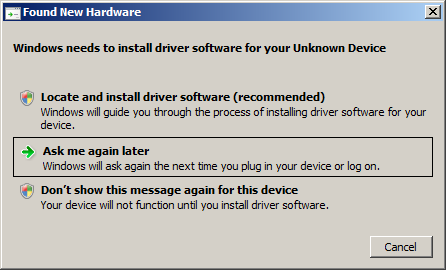
After turning USB Streaming on, plug your Sony Handycam into the USB port of your computer. The "Found New Hardware" wizard will pop-up on your screen (see screen shot below). Click on "Locate and install driver software (recommended).

Next, Windows will say, "Windows can't verify the publish of this driver software". Ignore that warning message and click on "Install this driver software anyway".

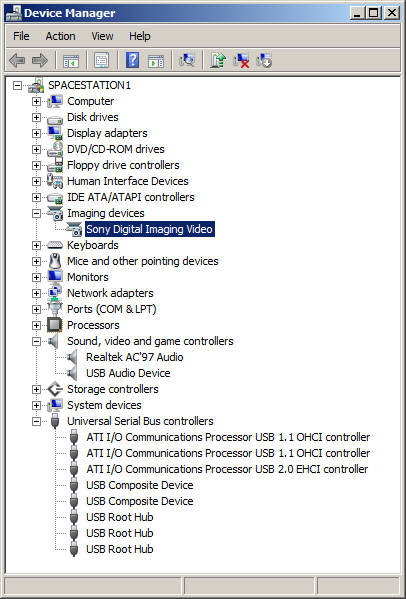
After Windows installs the driver software for you Sony Handycam, your computer now recognizes the camcorder. You can verify that by looking in the Device Manager list as shown in the screen shot below. You'll see "Sony Digital Imaging Video" under "Imaging devices" and you'll see "USB Audio Device" under "Sound, video and game controllers".
Related Links
- How to transfer video to a computer running a Microsoft Windows operating system.
- How to use a Sony� camcorder as a webcam for video conferencing.
- Sony Camcorder Compatibility with Microsoft� Windows Vista Operating System
![]() Attach
|
Attach
|
![]() Edit
|
Edit
|
![]() Revisions
Revisions
![]() Related Content
Related Content
Attachments
- 1 - USB Driver Software.png (4 KB)
- 10 - InstallShield Wizard Complete.png (47 KB)
- 11 - Found New Hardware.png (15 KB)
- 12 - Windows Security.png (17 KB)
- 13 - Device Manager.png (33 KB)
- 2 - Program Compatibility Assistant.png (15 KB)
- 3 - Sony_usb Folder.png (37 KB)
- 4 - Severe.png (24 KB)
- 5 - Properties.png (149 KB)
- 6 - Setup Properties.png (44 KB)
- 7 - InstallShield Wizard.png (41 KB)
- 8 - Note on installing the USB driver.png (37 KB)
- 9 - Setup Status.png (39 KB)
- DV and USB Ports thumbnail.JPG (8 KB)
- Device Manager.png (31 KB)
- Sony Camcorder USB Device.png (229 KB)
480 Users Online
|
Get Our
$10000-above $5000-$9999 $2000-$4999 $1000-$1999 $500-$999 $200-$499 $100-$199 $50-$99 $25-$49 $0-$24 Gift Certificate 
|
|


