

![]() Attach
|
Attach
|
![]() Edit
|
Edit
|
![]() Revisions
Revisions
![]() Related Content
Related Content
Make Your Photograph Dynamic with ClipChamp in 3 Easy Steps
<< Previous Page: Make Your Photograph Dynamic in Your Video Content
It is quite easy to add dynamic special effects to your still photograph. We will show you how to do it step-by-step with ClipChamp in this article. The following video is an example of what you can do to give your photo dynamic motion.
Chances are you already have Microsoft ClipChamp installed on your Windows 11 PC desktop, notebook, or tablet. If not, you can get it for free on the Microsoft Store.
Limitations
Before we get started, let's talk about a few limitations with ClipChamp.
The free version of ClipChamp can only produce 1080p HD videos. If you are willing to pay for it, you can produce 4K UHD videos with it.
Step 1: Create a New Video
Once you have ClipChamp installed and loaded, you'll see a large "Create a new video" button in its window as shown below.

Click on that big button to get started on creating your dynamic photograph video content. Once you do, you'll get to the video editing time line screen. Drag your photograph on the "Import media" area. The screen shot below shows the imported photograph that we are going to work with today.

Now drag-and-drop the photograph from the "Import media" area into the timeline, where it says, "Drag & drop media here". By default, ClipChamp will create a 4 second video of your photograph as shown in the screenshot below. You can change the duration of the video by dragging the beginning or the ending on the timeline.

Step 2: Adding Dynamic Special Effects
Now that your photograph is on the timeline, we can start adding special effects to it. ClipChamp provides a whooping 27 special effects. And considering that you can combine multiple special effects to your video, you have practically infinite creativity. Click the "Effects" button to the right to pull out the tray as shown in the screenshot below.

The following is a list of special effects that are available in ClipChamp:
- Flash
- Pulse
- Spin
- VHS
- Rotate
- Vaporwave
- Chromatic aberration
- Crash zoom
- Slow zoom
- Slow zoom random
- Green screen
- Black/white removal
- Blur
- Blur fill
- Filmic
- Glitch
- Disco
- Color shift
- Glass
- Comic
- Retro graphics
- Vertical
- Radial
- Smoke
- Kaleidoscope
- Glow
- Diffusion
Each of these special effect produces it's own interesting result. We will only use one to demonstrate in this article, but you should definitely play with each one and use them in combination with others to see what they do for yourself.
We'll use the "Slow zoom" effect, which is commonly seen in documentaries and news broadcasts. To select an effect for your video clip, select the video clip by clicking on it in the timeline, and then click the effect in the tray as shown in the screen shot below.

You'll notice that you can configure the effect below it. For this photograph, we want the audience to focus on the tree on the right, so we click the right position. By default, the camera zooms in, but you can zoom out instead by enabling the "Reverse" function. How far the camera zoom in and out depends on the duration of your video content, which you can adjust as explained in the previous section.
Once you applied an effect, click on the play button to see the movie magic on your video clip.
You can also apply additional special effects by clicking on more effects and configuring them as above. But in this article, we are just going to perform one special effect on the still photo.
Step 3: Exporting Your Dynamic Video Clip
Once you are happy with the result, it's time to export it, so that you can use it in your video content. Click on the blue "Export" button on the top right. ClipChamp will then ask you the "Video quality" to product as shown in the screen shot below.

We'll select 1080p HD, because that's the highest quality the free version of ClipChamp will produce. From the next screen, you can have ClipChamp save to your computer, save to OneDrive, save to Google Drive, upload to YouTube, send to TikTok, save to Dropbox, and/or share to LinkedIn. This clip is just a small segment of a larger video content, so we will save it to the computer for future use. Click on the "Save to your computer button" on the screen shown below.

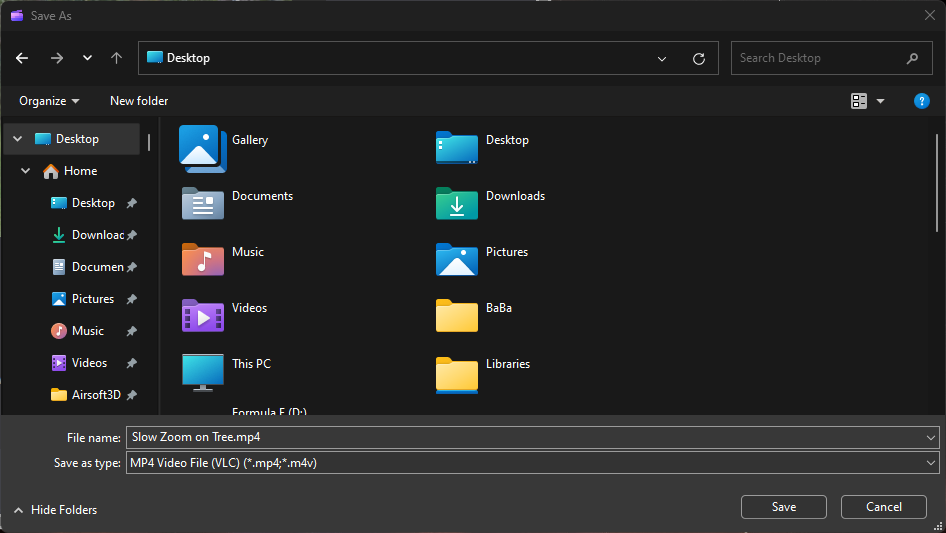
After clicking that button, the standard Windows "Save As" dialog would pop up. Navigate the folder to save to and give it a name for the video clip, such as "Slow Zoom on Tree.mp4" that I've done in the screen shot below. Then click the "Save" button.
When ClipChamp finish saving the file, you are done. Now you have a dynamic video clip of your still photograph that you can import into your video editing software for your video content.
![]() Attach
|
Attach
|
![]() Edit
|
Edit
|
![]() Revisions
Revisions
![]() Related Content
Related Content
Attachments
- Create a new video button.png (107 KB)
- Import media.png (87 KB)
- Photograph on Timeline.png (339 KB)
- Save As Dialog.png (59 KB)
- Save to your computer.png (290 KB)
- Slow Zoom Effect.png (736 KB)
- Special Effects Tray.png (789 KB)
- Video quality.png (687 KB)
505 Users Online

$10000-above $5000-$9999 $2000-$4999 $1000-$1999 $500-$999 $200-$499 $100-$199 $50-$99 $25-$49 $0-$24 Gift Certificate 
|
|
